This is the first animation that we had done, geared mostly towards helping us familiarize ourselves with the ins and outs of 3DS Max. We had to use modifiers, which are animations that distort/change an element somehow. I chose to make an animation of a ball bouncing up rising pillars. I originally wanted to make the pillars activate their modifiers after the ball had bounced on each individual one, but I wasn't able to do that; the modifier would activate immediately at the start of the "movie". I was forced to randomly apply modifiers to each column and let them play out arbitrarily, unfortunately.
To make the ball bounce, I moved it up and over while sliding the sliding the time bar at the bottom of the screen. I wanted to make the ball compress as it landed on each pillar, but at that point I was going beyond over complication.
To make the ball bounce, I moved it up and over while sliding the sliding the time bar at the bottom of the screen. I wanted to make the ball compress as it landed on each pillar, but at that point I was going beyond over complication.

The model looked better un-rendered, to be honest. I recreated Kirby, a character from a video game by looking at pictures online.
We were supposed to make a face and change/distort it by using the points on a sphere, but I chose to make this little character instead. I didn't use any modifiers; instead, I used many hyper compressed spheres and arranged them to make the eyes, cheeks, mouth, etc.
If you view the character sideways, it looks really bad, which is why I kept it in the front view.
Animation him was slightly annoying, I had to move his body up and then move his arms up and down individually.

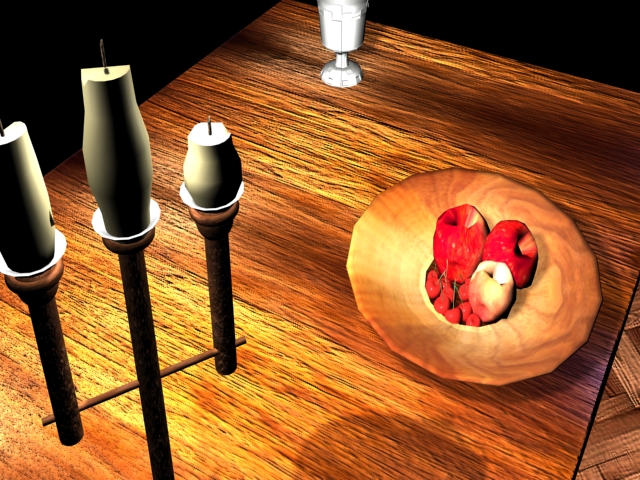
We had to use several different bitmaps for this project, which was building a table. I tried to give the table a kind of modern look (hence the unusual legs). For the surface, I used a glass texture, but it ended up giving it more of a metallic look. I made an ancient looking goblet using the lathe tool, for which you have to draw half of the goblet and make sure to make the lip of the cup go directly inwards, so as to make the cup concave. I fill up the cup with a red, transparent liquid, and also made a separate glass with water. To make the water, I just used a light blue cylinder with low opacity.
|
|
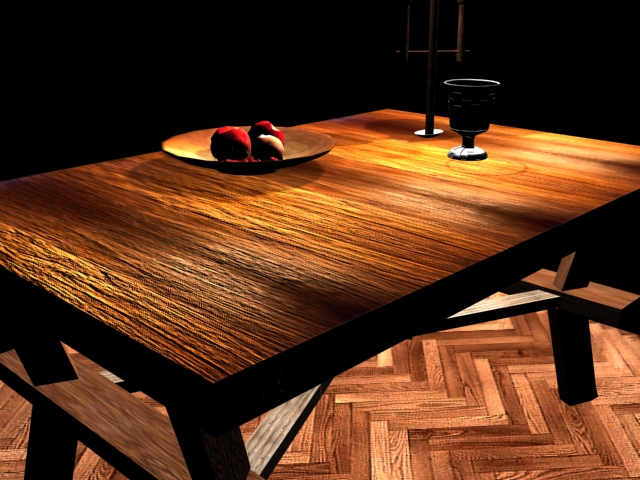
This was a pretty fun project as we had to make a medieval setting with realistic shadows. The table was an absolute nightmare to make though, as I tried being original again and ended up spending an entire period adjusting the legs. For the goblet, I used a line to draw half of the goblet. I then used "convert to editable poly" to extrude some parts of the goblet (individual polygons), which was hard as well. I also used a silver color and increased the specular level and gloss to make it look more metallic and shiny. For the candles, I used the melt modifier on some white cylinders. I also managed to assemble a chandelier with cylinders as well.
For the fruit (apples, peach, and cherries), I made geo-spheres and then converted them to editable polys to make them more organic looking by adding blemishes, bending them, crushing them etc. since fruit are not perfectly spherical shaped. I added a real fruit bitmap as well. The cherries' stems are just bent cylinders.
I also added a bump map to the table's surface, which ended up looking awesome I think. The lighting is just omni lights under the table and also where the candle's wicks are.

This was one of the assignments from the book. In order to do this, I had to first type my name and incorporate it into a box (converted to an editable spline) with rounded corners that I gave dimension to. It's called an "extruded logo".
For the terrain, I selected a grass texture bitmap and increased the tiling so that it looked more high-quality and less blurry. In order to make the mountains, I create a large and wide box. Then I adjusted some settings such as "generate mapping".
For the actual mountainous effect, I used the modifier "noise". The lights used were all spotlights, I just had to choose in which direction the light pointed at.

The objective of this was to make beveled text. All I had to do was create a text with my initials and choose a specific font, then use the "bevel" modifier and adjust some height/width settings.
This is where it got interesting. To apply several different textures, I had to apply the "multi-sub-object" option in the material editor. I then chose a bitmap for the front texture, and normal colors for the sides and back. I applied a slight transparency to the sides and back as well, and I also added a simple omni light to make the letters shine.
In addition, I modified the specular and glossiness parameters.

This screwdriver was a bit annoying to make, as at first it ended up looking like an aborted snail.
What I had to do however was make 3 circles of different diameters, 2 different rectangles, and a star.
Now to create the actual screwdriver, I had to make a line, then several times with compound objects I had to add a shape to the line by selecting the shapes I had created previously.
In the end, I added a map texture to give it the orange and silver color. I also increased the specular level of the metal part as well.

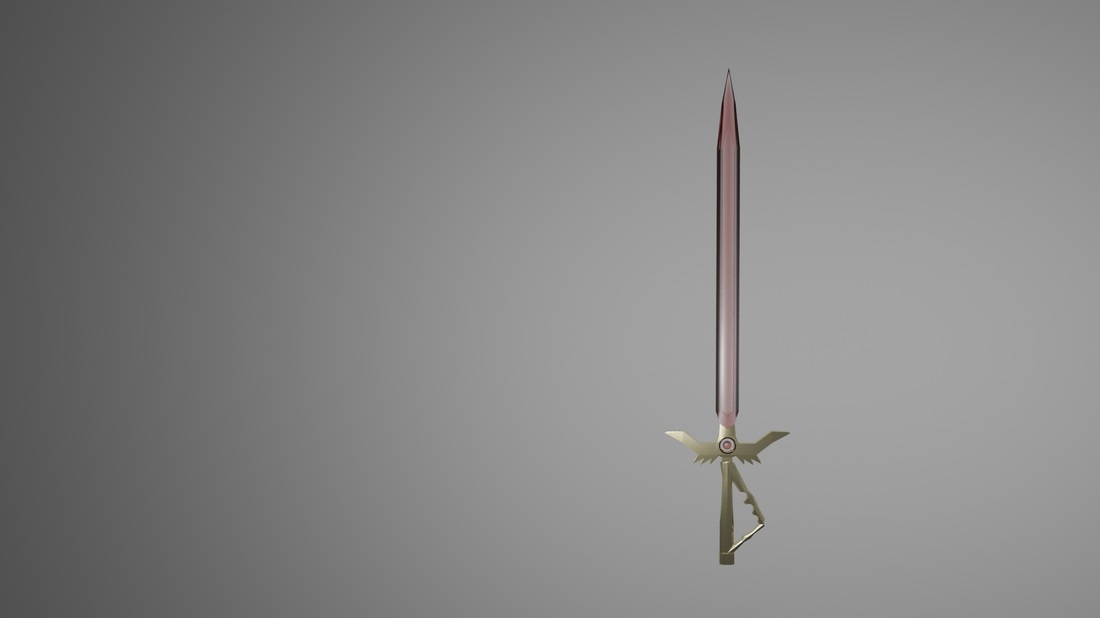
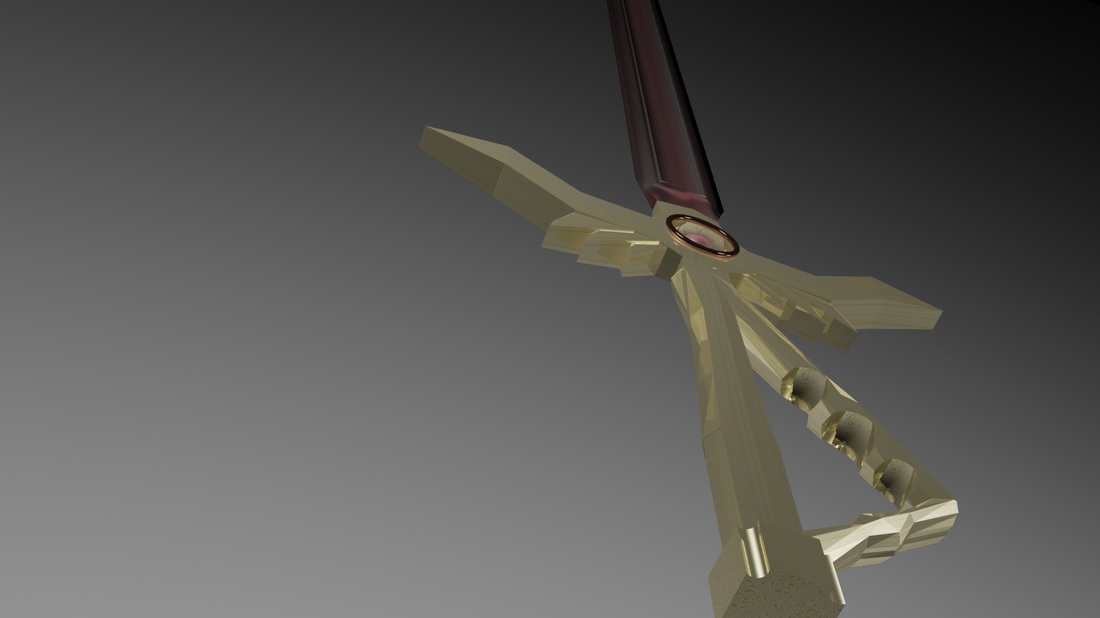
My chess set. I merged my "table scene" file and my "chess set" file. This is before I changed one side of the chess pieces to steel, so as to differentiate them. I used a youtube tutorial to give the chess pieces a ultra-realistic glass look, which involved raytracing and adjusting gloss and reflection levels. The pieces are placed on a shiny golden chess block. The lighting from the chandelier also reflects nicely on them.


PART 1: The title "Chess" ascends from the lower screen and then slows down, at the same time as a chess spirals down and slows down as well. Both the title and chess set then regain their normal speed; the chess set lands on the table and causes the goblet to fall down.
PART 2: The camera zooms in on the steel chess pieces and pans down their rows to display the pieces.
PART 3: The camera zooms in on the glass chess pieces and pans down their rows to display their pieces.
PART 2: The camera zooms in on the steel chess pieces and pans down their rows to display the pieces.
PART 3: The camera zooms in on the glass chess pieces and pans down their rows to display their pieces.


PART 4: A still shot of the entire chess set, displaying the situation.
PART 5: The camera shows a close up of the steel king piece, moving from right to left.
PART 6: The camera is now at an angled distance. The scene shows 3 steel pawns advancing forward in different ways: one somersalts forward, one shuffles, and one hops forward.
PART 5: The camera shows a close up of the steel king piece, moving from right to left.
PART 6: The camera is now at an angled distance. The scene shows 3 steel pawns advancing forward in different ways: one somersalts forward, one shuffles, and one hops forward.
Chess
By Clara
Definitely THE hardest project I've ever done in Mr. Meirik's class. From individually modeling and texturing the pieces to animating them, this was not an easy feat. The horse chess piece was nightmarish--it involved individual splines and creating a grid with vertices--and ended up looking great from the side but disturbing from the front. I probably should have chosen a easier picture to model it after.
I am especially proud of the textures in this video, but it's a shame that it's so low quality, thus it does not fully enable the viewer to see the pieces in all their glorious brilliance. I had to watch YouTube tutorials in order to give them the glassy/gold effects. These maps also contributed to the excruciatingly long render times, but it was still well worth it.
I tried to make some Hollywood-esque camera shots as well.
All in all, I am glad this project is finally over, but I am equally glad that I was able to make a product I am satisfied with.
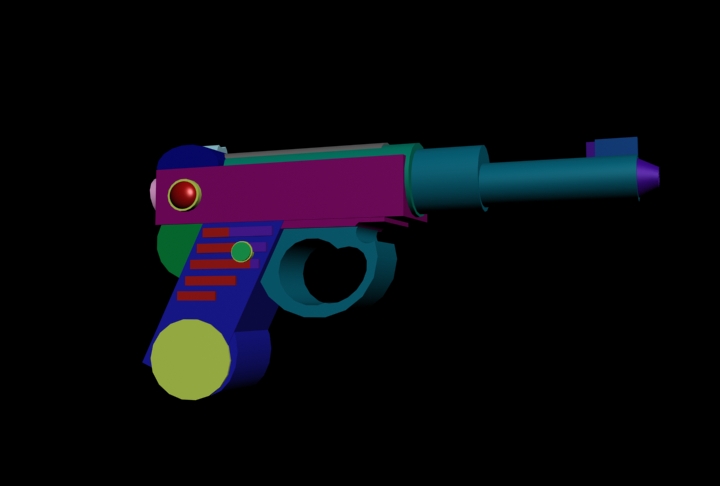
To make this gun, I used the Boolean and Pro-Boolean tool; this modifier is extremely useful, as you can take a a shape and shave off parts of it using other shapes. I made the entire gun using Boolean.
In the animation, I also made it so that the gun would cock back, giving a more realistic feel when the gun was shot.
In the animation, I also made it so that the gun would cock back, giving a more realistic feel when the gun was shot.
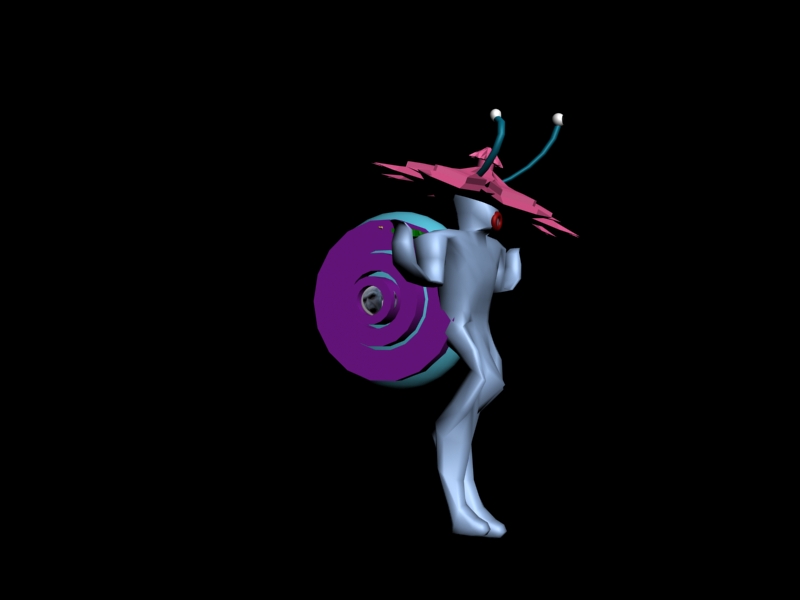

I started to make a normal human figure, starting with a box and using the extrude tool, I extended parts of the box to make arms and legs. I used the smooth modifier to make him look more natural. I only did these steps for half of the body; I then used the symmetry modifier to mirror half of his body. Every thing I modified on one side would automatically modify on the other side.
In the end, I decided to turn him into a snail; I assembled several cylinders together to make a shell. I extruded a flat cylinder several times to make a funky looking hat.
In the end, I decided to turn him into a snail; I assembled several cylinders together to make a shell. I extruded a flat cylinder several times to make a funky looking hat.

To make this textured box, I put a bitmap on it then used a noise map and increased the level to about 200.
3DS Max VS. Maya
Knowing either 3DS Max or Maya will not increase your chances of getting a job.
You can use the programs for a variety of things: creating 3D character models, create performances through character animation, creating game models/animations. You can use the program for architectural visualization, or integrating it within a VFX pipeline or film.
Both programs have the rendering engine mental ray built into the software, so both programs have the same rendering capabilities. 3DS Max has a robust modeling toolset with different modifiers which make the modeling process easier, so 3DS Max is a bit easier to grasp. Max is also a favorite tool among architects and designers, if you're planning on getting into architectural visualization like interiors and buildings.
Modeling in Maya is less forgiving.
However, Maya is more powerful than Max when it comes to animation, with a large library of animation tools. It's also customizable if you know MEL or Python which are the scripting languages in Maya. When it comes to ease of use, and the amount of tools available, Maya is the stronger of the two.
Where Maya Shines:
Since Maya uses MEL which is highly customizable, Maya is found a lot in the film industry because studios can use their own tools that can help them achieve their job much easier.
It is known in the industry as the go-to app for 3D animators among the industry for its robust rigging and animation tools and its animator friendly workflow.